Close to My Heart ALbum Retreat

Close to My Heart ALbum Retreat

Tuesday, November 27, 2012


I'm at it again.  I love this technique. 
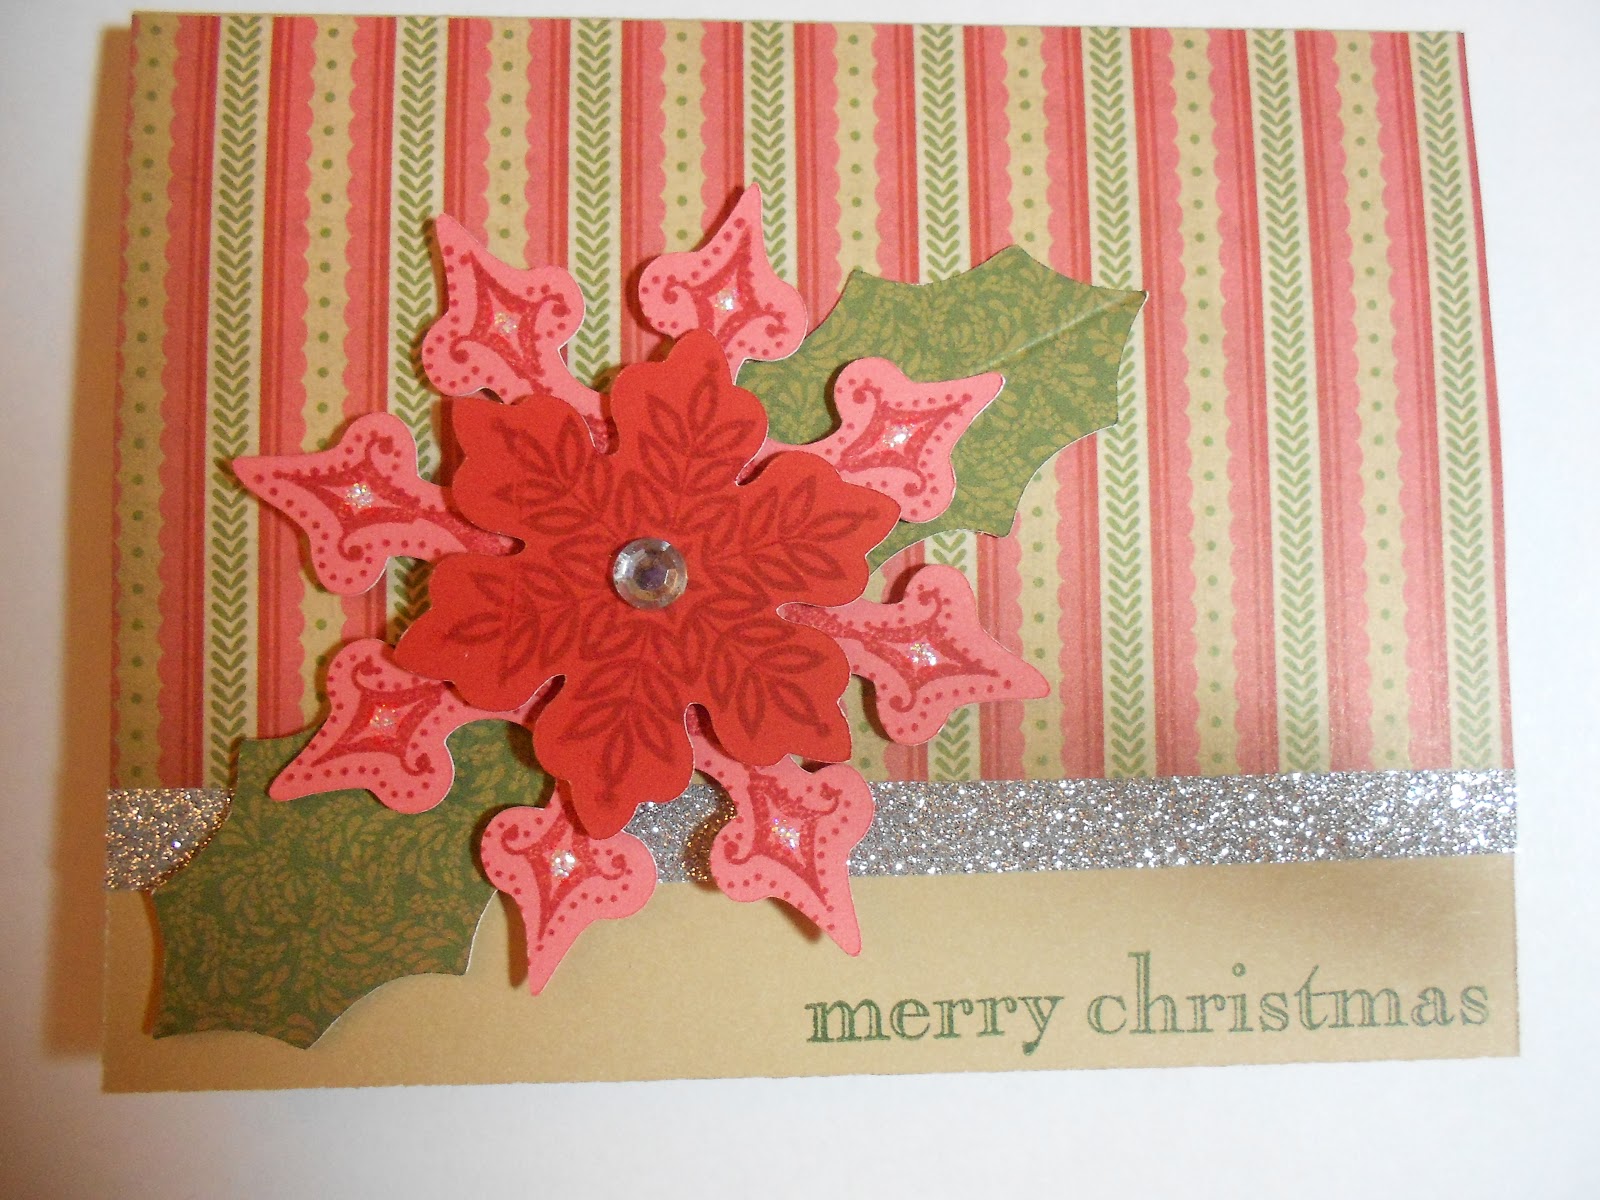
I cut several shapes from my very favorite retired paper pack Clover Meadow and Holiday Red. I settled on the circles and made a few stars from a non CTMH piece of sparkle paper that I have hoarded up for some time.  I think it turned out really nice.  The card at the right is one I made for convention in Disney Land.  Even before we had the Art Philosophy cartridge.  My girl friends and I cut each and every star out by hand.  Boy am I glad we got the cartridges.  I think we are very fortunate. 

Saturday, November 24, 2012

 I have just finished making this card and my scrap booking room looks like it was hit by a bomb!  I saw this card at a Bizarre and quickly ran home to make it.  This is what my memory tells me it looked like, minus the paper and stamp set. 
 Inside


Art Philosophy
Bricks for Chimney 1 ½”  Pg 25
Hat- Banner 1”                  Pg 59
Artiste
Mittens 1 ¼”                        Pg 79
Bag-Owl 2”                          Pg 76
Snowflake ½”                      Pg 79
Packages cut about 1” free hand
Chimney base is 3 3/8 x 3 3/8 Chimney top is 3 ½” x ¾”
Card 4 ¼" x 5/ ½" Cranberry
Base is Desert Sand
Bricks and top chimney is Cashmere
Sponge around bricks with Desert Sand
Snow was a MS Tinsel Glitter
Cranberry Bakers Twine
Ho Ho Ho was stamp set C1331 Santa’s Flight

Saturday, November 3, 2012


This is my first card for my workshop next month. I used Pear and Partridge paper package, New England Ivy and Cranberry Inn, sparkles and our famous Shimmer Trim. I duplicated the large flower on page 88 of the idea book by using the dimensions on the stamp set D1480 Snowflakes. The center flower was cut using the Cranberry Paper and the bottom snowflake was Smoothie. the holly was cut 2 1/4. My strip of the striped paper was 3 1/2 x 5 1/2. I used 3D foam tape to raise both snowflakes. Boy the cricut sure makes getting ready for a workshop a whole lot easier. Hope you like it.
 
I can't stop making these cards.  It's so much fun and the creativity is unlimited.  Hope you like it. 

Saturday, October 27, 2012

This is my hometown Sheridan's #1 historical place.  Unfortunately it is closed now because they do not have the financing to keep it up.  This place is also haunted.

Sunday, October 21, 2012

Halloween card making party today.


These were the cards made at my monthly party today.  Some of you might recognize your card, yes I lifted a couple of ideas but personalized them.  I used real orange that we no longer carry as well as the Hydrangea..    I free handed the striped vest  and bow tie for the bat. The black base to the bat card is a single sheet of 5 1/2 x 4 1/4 card stock. I outlined it with a white gel pen to make it look like stitching.  The bat is basically hanging from the card base the wings are the only thing that opens.

Sunday, October 7, 2012

Harvest Interlocking card


Interlocking card I cut the circle on page 51 of the Art Philosophy in 2 different colors then glued the inner circle on one side and the layer on the other side when you close the card it interlocks. I also used the Autumn Splendor Stamp set for the back ground of the card, because I liked those leaves better. Harvest Happiness was used for leave in the center. Save the pieces you can use them on another card

More Halloween Cards


These cards are really simple to make.  I used CTMH black card stock and embossing folders, not sure exactly where I got them.  The eyes, lettering and spider were cut from the Cricut Artiste Cartridge by CTMH.  No stamping involved in these 2 cards.  The spider does have sparkles for his eyes.  Very quick and mailable. 

Ghostly Gathering Card for Haloween

I was cutting rectangles and noticed the negative space was a window frame. My creative mind went to work. This is what I came up with. I love this stamp set. I played around with colors before I settled on Smokey Plumb, Indian Corn Blue, Honey and of course black. I put a piece of our black Tulle on the back of the window frame with liquid glass (loots like a screen) then used a very thin strip of 3 D foam tape to out line the window. Don't forget a small piece directly in the center of the window. Then I just used a thin strip of the Moonlight paper and the boarder strip that says Ghostly Gathering and 1 sparkly piece of Haunted Assortment. It was time consuming until I got it like I wanted now I could probably whip out one in 15 min. Hope you like it. I am going to do a fall and Christmas one too.

Saturday, July 14, 2012

I have been really too busy to blog apparently.  I couldn't even find the dumb thing.  Hopefully I'll be back up and running soon.